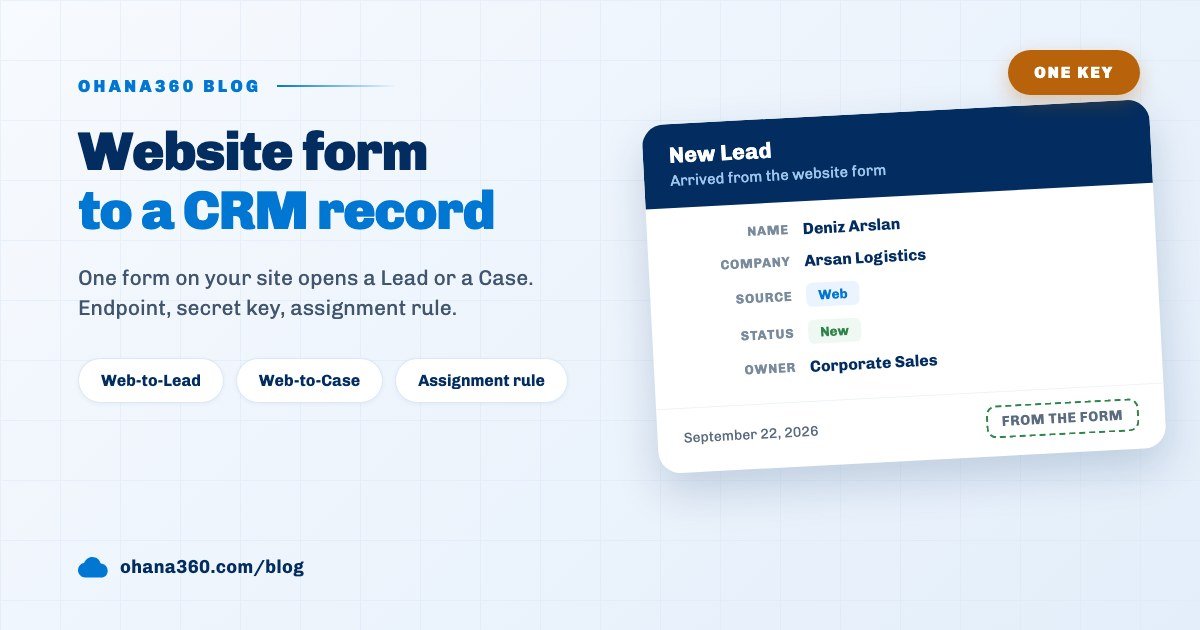
Automatic record creation from a web form takes three things in Ohana360: the secret endpoint issued for your org, a plain HTML form embedded on your site, and an assignment rule that hands the arriving record to somebody. The form POSTs to /api/w2l/ for a lead and to /api/w2c/ for a case, and the record is in the list within seconds.
Ohana360 is a business cloud that keeps sales, service, finance and HR records in one database. The web form connection is not a separate add-on; it is a section inside the settings card of the Sales360 and Service360 apps.
The checklist below lists what you need in hand before you wire anything up. Once you clear it, we look at field names, assignment rules and the limits in turn.
Which checklist should you clear before wiring up the form?
There are seven preparation items and six of them take under five minutes. Teams that skip the list and paste the code straight away usually stall on items three and five.
| # | Check | Where it happens |
|---|---|---|
| 1 | Are you signed in with the admin role | The key is shown to admins only |
| 2 | Have you copied the endpoint address | Sales360 home, App Settings, Web-to-Lead |
| 3 | Are the form field names exact | name, company, email, phone, message, consent |
| 4 | Is the hidden website field in the form | The bot trap, kept as an invisible input |
| 5 | Have you written an assignment rule | App Settings, Queues and Assignment |
| 6 | Are the admin email addresses current | Notices only reach active admin accounts |
| 7 | Have you sent a test submission | The Send Test Lead button in the Web-to-Lead section |
Item seven needs no extra page: the button in the Web-to-Lead section posts a sample record straight to the endpoint and it shows up in the list. The support form side has no such button, so you test that one with the real form on your site.
What happens on the server when the form is submitted?
A submission travels through five stops, and those stops are identical for both endpoints. Behind every submission that reaches the fifth stop there is a record, a notification and an email.
Fields are trimmed before the record is written: name at 120, company at 160, email at 190, phone at 40 and message at 500 characters. On a case, subject is capped at 200 and message at 1000. If you send a JSON body, the ceiling is 16 KB.
Validation ends with three rules. On a lead the name must be at least two characters, at least one of email or phone must be filled, and an email that is present must be well formed. On a case the only required field is subject, and it wants at least three characters.
Where does the endpoint come from and why keep the key secret?
The endpoint address sits in the Web-to-Lead tab of the App Settings card on the Sales360 home page, and it is generated once per org. The address starts with https://ohana360.com/api/w2l/ and ends with a 48 character random string.
- Who can see it: only a user with the admin role can open the key. A standard user never sees the settings card.
- Why it is secret: the key is the whole identity. Anyone who gets hold of it can create records in your org, so the address belongs in the submit line of the form, never as visible text on the page.
- Rotation: the Refresh button issues a new key. The app warns you first, because after a rotation the old code on your site stops working and you have to paste the new address in.
- One key, two endpoints: for the support form you swap the /w2l/ part of the address for /w2c/. No second key is generated.
- Newsletter form: the Newsletter360 subscriber form uses the same key, so a single secret feeds three different kinds of form.
You can check whether the setup exists from the System Overview page under Setup: the Web-to-Lead / Web-to-Case row in the External Systems and Connections card reads Active once a key has been generated, and Not set up before that.
How do you connect the HTML form on your site?
It is an ordinary HTML form; the only requirement is that the field names are spelled exactly right. The Ohana360 settings screen hands you the code below and copies it with a Copy Code button.
<form id="ohana-lead-form">
  <input name="name" placeholder="Full name" required>
  <input name="company" placeholder="Company">
  <input name="email" type="email" placeholder="Email">
  <input name="phone" placeholder="Phone">
  <textarea name="message" placeholder="Your message"></textarea>
  <label><input type="checkbox" name="consent" value="1"> I agree to receive commercial messages.</label>
  <input name="website" style="display:none" tabindex="-1" autocomplete="off">
  <button type="submit">Send</button>
</form>
On submit the form data is posted to the endpoint as URLSearchParams and the message field of the returned JSON is shown to the visitor. The server accepts a form encoded body and a JSON body alike, so you can pick either when you write your own script.
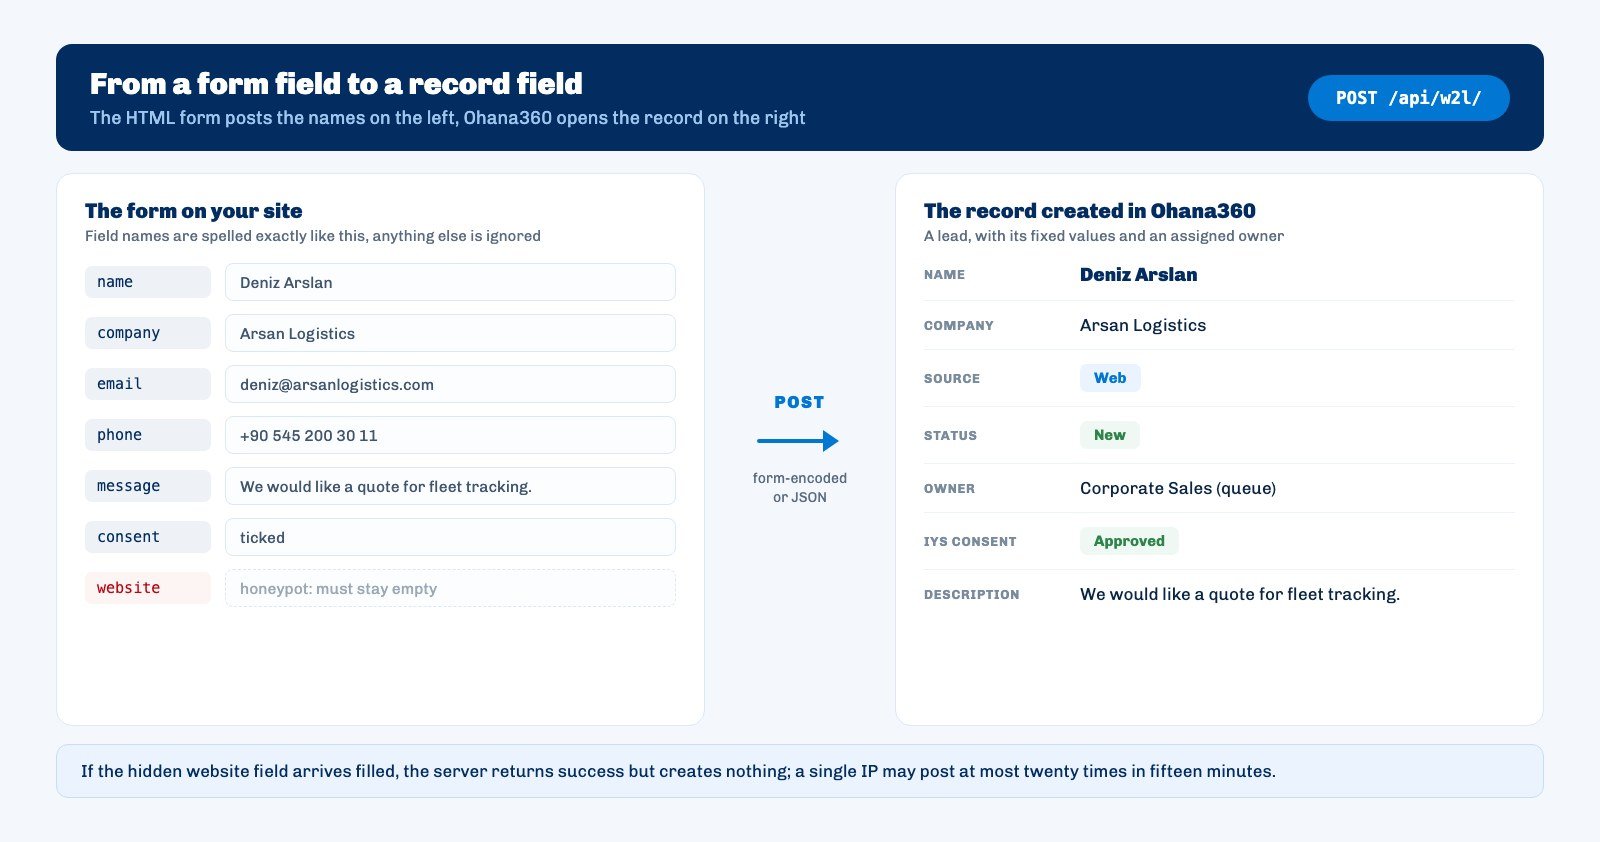
The hidden website field is invisible to a visitor, but bots that fill forms automatically fill it too. When that field arrives non-empty, the server answers as if everything went well and creates nothing at all. Do not delete it from the form: the trap stops working the moment you do.
The support form follows the same shape with a shorter field list: subject, name, email, message and, again, website. Mark subject as required, since it is the only field the server insists on.
What is the difference between Web-to-Lead and Web-to-Case?
The difference is the address you POST to, which decides the type of record. The same key works on both; /w2l/ opens a Lead and /w2c/ opens a Case.
| Topic | Web-to-Lead | Web-to-Case |
|---|---|---|
| Record created | Lead | Case |
| Required fields | Name, plus email or phone | Subject, at least three characters |
| Fixed values | Source: Web, Status: New | Origin: Web, Priority: Medium, Status: New |
| Reply to the visitor | A short thank you message | Thank you message plus the case number |
| Admin email | Web-to-Lead Admin Notification template | Web-to-Case Admin Notification template |
The case number is padded to eight digits and comes from the counter of the org, so the first case reads 00001001. It shows both in the reply the visitor sees and in the Case Number field of the record, which means a customer calling in can read it out.
Source and status values come from picklists. Lead statuses are New, Working - Contacted, Qualified, Converted and Lost; case statuses are New, Working, Waiting on Customer, Escalated, Resolved and Closed. A record arriving from a form always starts at the first value. If you already run complaint tracking, these cases land right inside that routine.
Who gets the record that arrives from the form?
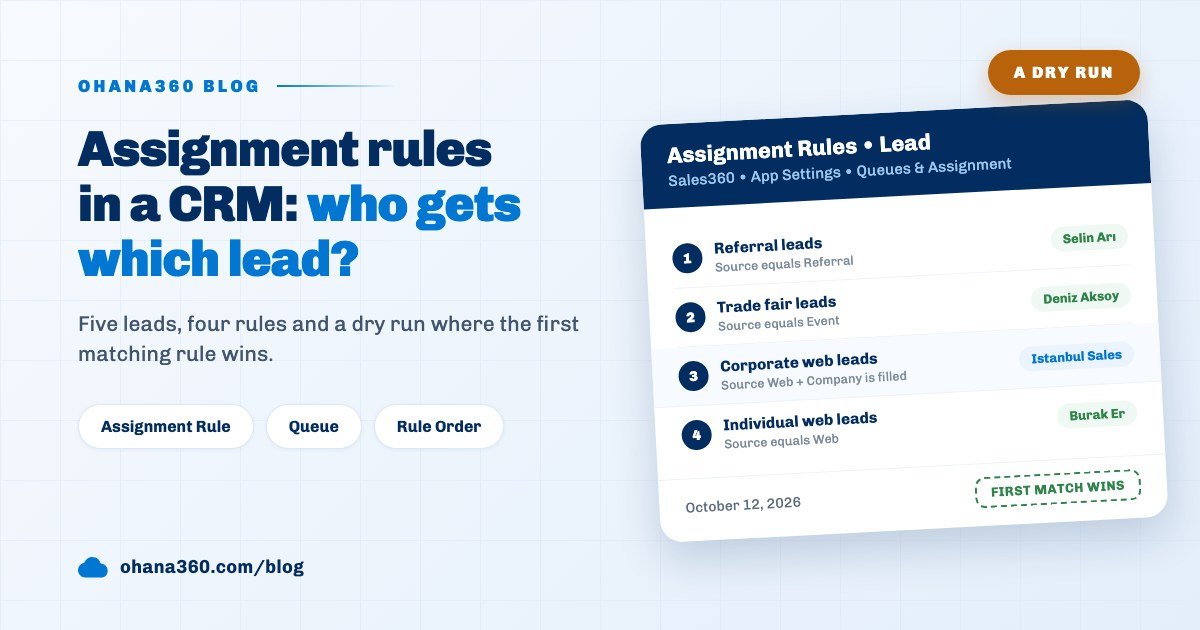
The owner is decided by assignment rules, and with no rule the record is created without an owner. Lead rules live in the Queues and Assignment section of the App Settings card on the Sales360 home page; case rules sit in the same card in Service360.
- Order: rules are tried top to bottom and the first matching active rule sets the owner and stops. Rules below it are never tried.
- Conditions: every condition of a rule must hold. A condition is a field, an operator and a value; text fields offer contains, does not contain, equals, not equal, starts with, is filled and is empty.
- Target: you pick a user or a queue. A queue is a shared pool whose members see and edit its records as if they owned them.
- Active flag: every rule carries a checkbox; an inactive rule is never evaluated and shows an Inactive badge in the list.
- No rule: the record is still created, but the owner field stays empty. Unassigned cases surface as their own reason in the Service360 attention list.
A practical setup looks like this: one rule sending leads with a company name to the corporate sales user, another sending leads without one to a queue. Those two guarantee that nothing from the form stays ownerless. With pipeline stages defined, converted leads drop into a ready path that runs Prospecting, Qualification, Proposal, Negotiation, Closed Won and Closed Lost.
How are you told about a new record?
One submission announces itself through four separate channels, all fired after the record is written. The channels are independent, so the record exists even if an email fails.
| Channel | Who receives it | Contents |
|---|---|---|
| Active admin accounts of the org | Name, company, email, phone and message lines | |
| Bell notice | The notification centre in the app | A one line alert linked to the record |
| Push | Mobile app and desktop browser | Name and company, tapping opens the lead list |
| Webhook | The external address you registered | A record.created event with the full record |
The email text is not fixed: the Email Templates page under Setup holds the Web-to-Lead Admin Notification and Web-to-Case Admin Notification templates. The lead template uses name, company, email, phone and message variables, the case template uses number, subject, name and email.
The notification centre keeps the newest fifty entries and drops older ones. If you run record triggered flows, a record from the form triggers them too, and the flow log shows Web form in its source column. That is how automated follow-up reminders also cover records that arrive from your website.
What guards against spam and repeat submissions?
Two guards run on the server and a third one is in your hands. The server side ones cannot be switched off; they run on every submission.
- Honeypot: if the hidden website field arrives filled, the server returns a success response and creates nothing. The bot believes it got through.
- Rate limit: a single IP address posting more than twenty times in fifteen minutes is refused. The counter is kept separately for leads and cases.
- Key rotation: if you suspect your key leaked, the Refresh button invalidates the old address in one move. You then have to update the form on your site the same day.
Repeat submissions, meaning the same person filling the form twice, are not blocked. Two records are created and both land in the list. For now the right move is to filter the lead list by email or phone and merge the records.
What does the consent box do?
When the consent box on the form is ticked, a commercial messaging permission is written to the record together with its evidence. The evidence has three parts: a timestamp, the IP address of the visitor and the source.
- Status: the permission status becomes Approved. Submissions with the box unticked stay Unknown, so nobody is treated as opted in by default.
- Channels: an email permission is written when an email address is present and a messaging permission when a phone number is. With both present, both are written.
- Source: the permission source is stamped as Website and the granting party is recorded as the web form.
- Recipient type: a filled company field marks the record as a commercial recipient, an empty one as an individual.
Remove the box from the form and nothing breaks, the incoming leads simply carry no evidence of consent. Adding it while you build your sales tracking routine is far easier than collecting permissions afterwards.
Not included: what the web form does not do
Knowing the limits up front beats hitting an unexpected wall in week three. The items below are known boundaries and none of them can be switched on in settings.
- There is no captcha. No challenge widget and no external bot service can be attached. The protection is the hidden honeypot field plus the IP rate limit.
- No file attachments. The endpoints read a fixed handful of text fields; a brief, a screenshot or a signed contract cannot be uploaded.
- There is no duplicate check. A second submission from the same email address creates a second record; no email or phone comparison is made.
- Custom objects cannot receive submissions. Only two endpoints exist and both are fixed: lead and case. A custom object built in Setup gets nothing from a form.
- There is no field mapping screen. Field names are baked into the code, so differently named inputs and custom fields added to the org are ignored.
- No submission log is kept. A rejected submission appears on no screen. Accepted ones can be traced in the flow log under the Web form source; rejected ones cannot.
- No auto-reply reaches the visitor. Email goes to admins only; the person filling the form sees a short message on screen and finds nothing in their inbox.
- A case is not linked to a contact or an account. Cases opened from a form arrive with empty account and contact fields; the sender name and email are written into the description text instead.
- There is no key per form. An org holds one key, so you cannot tell which page a record came from; no campaign or page information travels with it.
- There is no round robin. An assignment rule writes to a single target; no option distributes incoming leads across a team in turns.
These limits share one reason: the endpoint was built as a narrow door that does one job safely, not as an integration tool. If you need a richer flow, catching the submission on your own server and writing to the Ohana360 API is still open to you.
Which page should carry your first form?
The right candidate for a first form is the page that already brings you the most calls and emails. On most sites that is the contact block at the bottom of a service page or the quote box on a pricing page.
Do this: copy the endpoint from the App Settings card on the Sales360 home page, take the ready form with Copy Code, place it on one page, verify the endpoint with the Send Test Lead button, and write a single assignment rule that routes leads with a company name to corporate sales.
A week later ask one question: how many of the incoming records got a reply on the same day? A low answer points at ownership rather than at the form. Teams running a customer portal can apply the same measure on the case side.